Wood Stabilizing: Resin, Vacuum, and When to Skip It
Wood stabilizing explained: what vacuum-impregnating punky and spalted wood with resin does, how the process works, and when dense hardwood needs none of it.
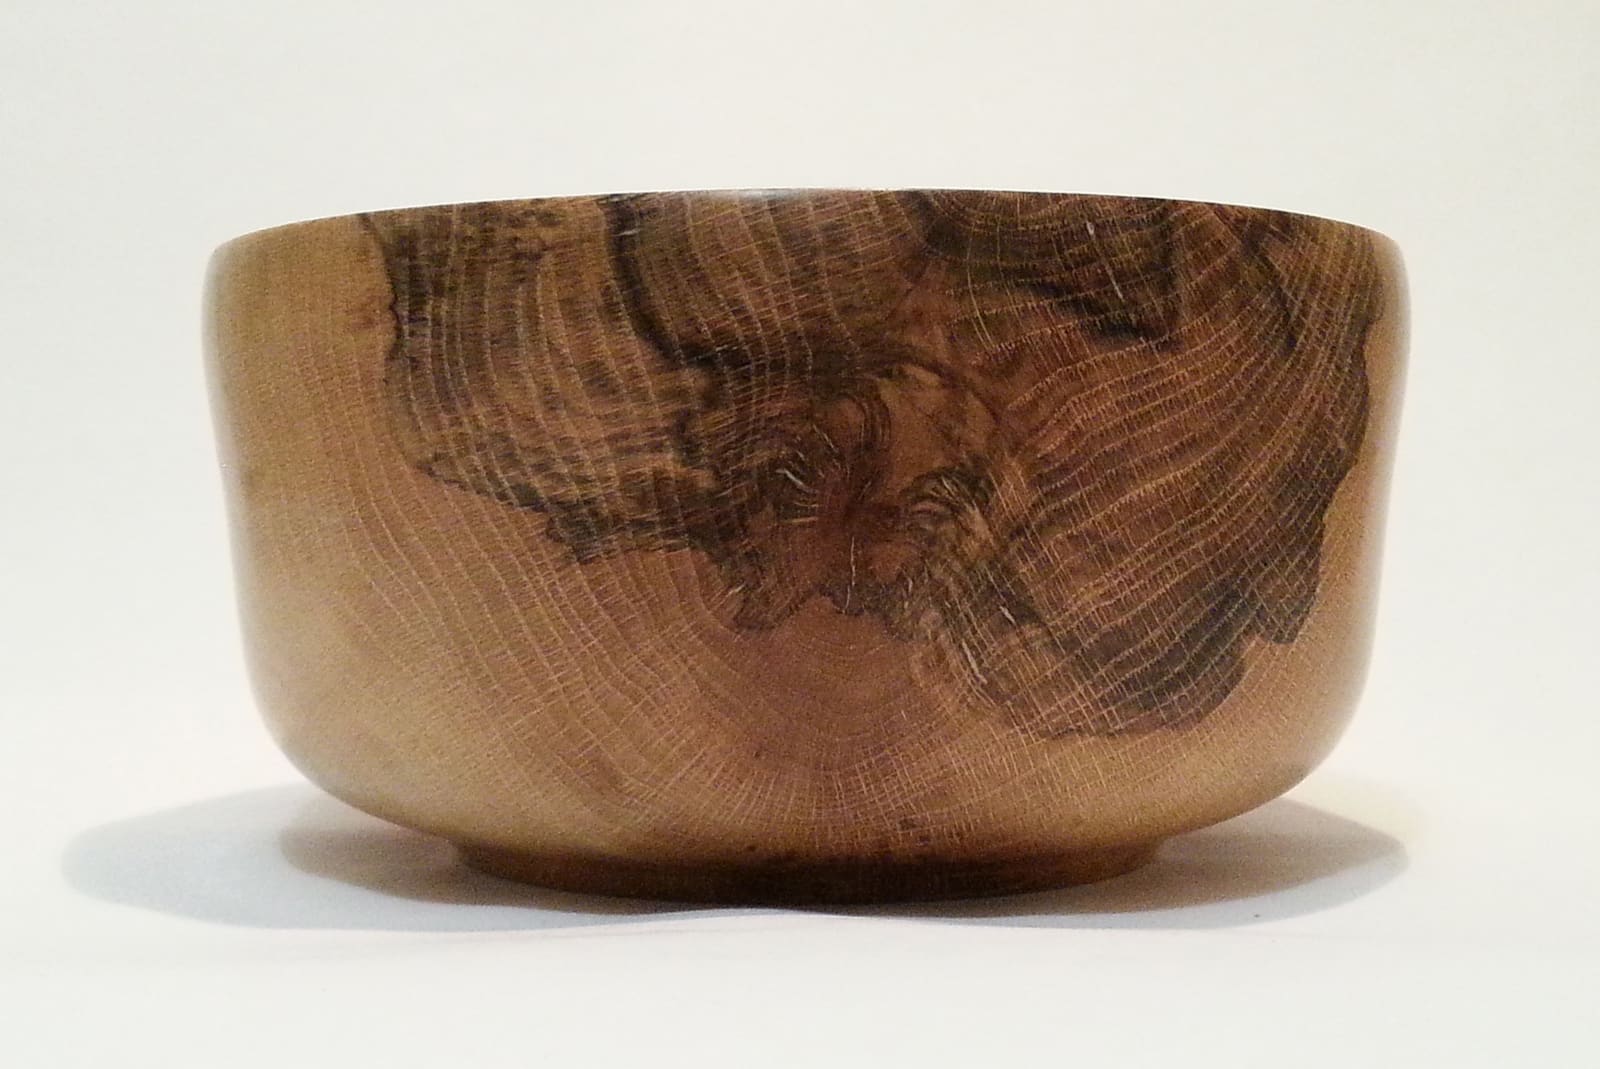
Wood stabilizing is vacuum-impregnating a dried, porous blank with a thin resin, then heat-curing it solid, so wood that would otherwise crumble on the lathe turns clean and finishes hard. Turners reach for it on punky, spalted, and burl blanks: material with real color and figure but not enough structure to hold a cut. Dense, tight-grained hardwood almost never needs it.
The resin most people mean when they say “stabilizing” is Cactus Juice, made by TurnTex in Texas. It isn’t the only stabilizing resin on the market, but it showed up in enough pen-turning and knife-making shops through the 2010s that the brand name and the process became nearly synonymous, the way “Kleenex” swallowed “tissue.”
What is wood stabilizing?
Picture a piece of wood as a bundle of drinking straws packed tight, each one holding trapped air and, if the wood isn’t fully dry, water. Atmospheric pressure keeps that air compressed inside the straws. Pull a vacuum around the wood and the pressure drops, the trapped air expands, and it works its way out into the surrounding resin as a stream of bubbles. Release the vacuum and normal atmospheric pressure returns all at once, pushing resin into the newly empty space inside the wood instead of air. Bake the soaked blank and the resin cures solid inside the cell structure. That’s the entire mechanism: not a coating on the surface, but resin living inside the wood itself.
Why turners bother with it
Spalted wood, burl, and punky salvage logs are some of the most visually interesting material a turner will ever mount on a lathe, and they’re also the most structurally unreliable. Spalting is fungal decay caught partway through its work. The zone lines and color variation that make spalted maple or spalted oak so sought-after are the fungus doing exactly what fungus does to wood, which is break it down. Left to run its course, the same log turns to punk: the fiber goes soft, short-grained, and frayed. Try to take a clean cut across punky wood with a gouge and it tears instead of slicing, crumbles at the edges, and won’t hold fine detail or a screw thread. Burl has its own version of the problem. The tight, swirling grain that grows around a tree’s response to injury is what makes it beautiful, and it’s also what makes it prone to blowing out chunks mid-cut.
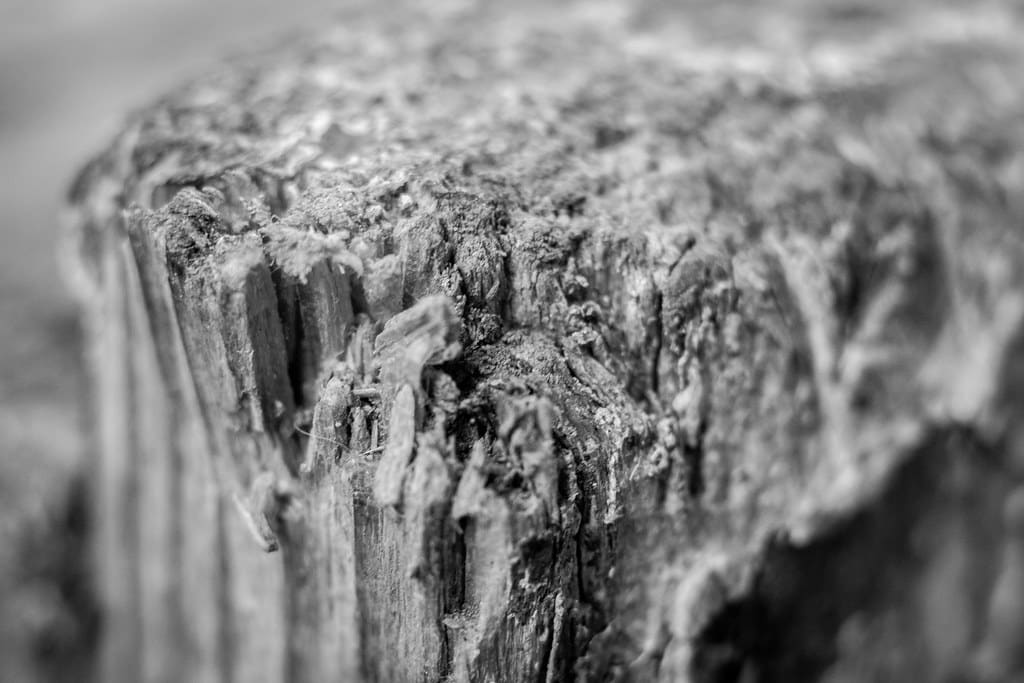
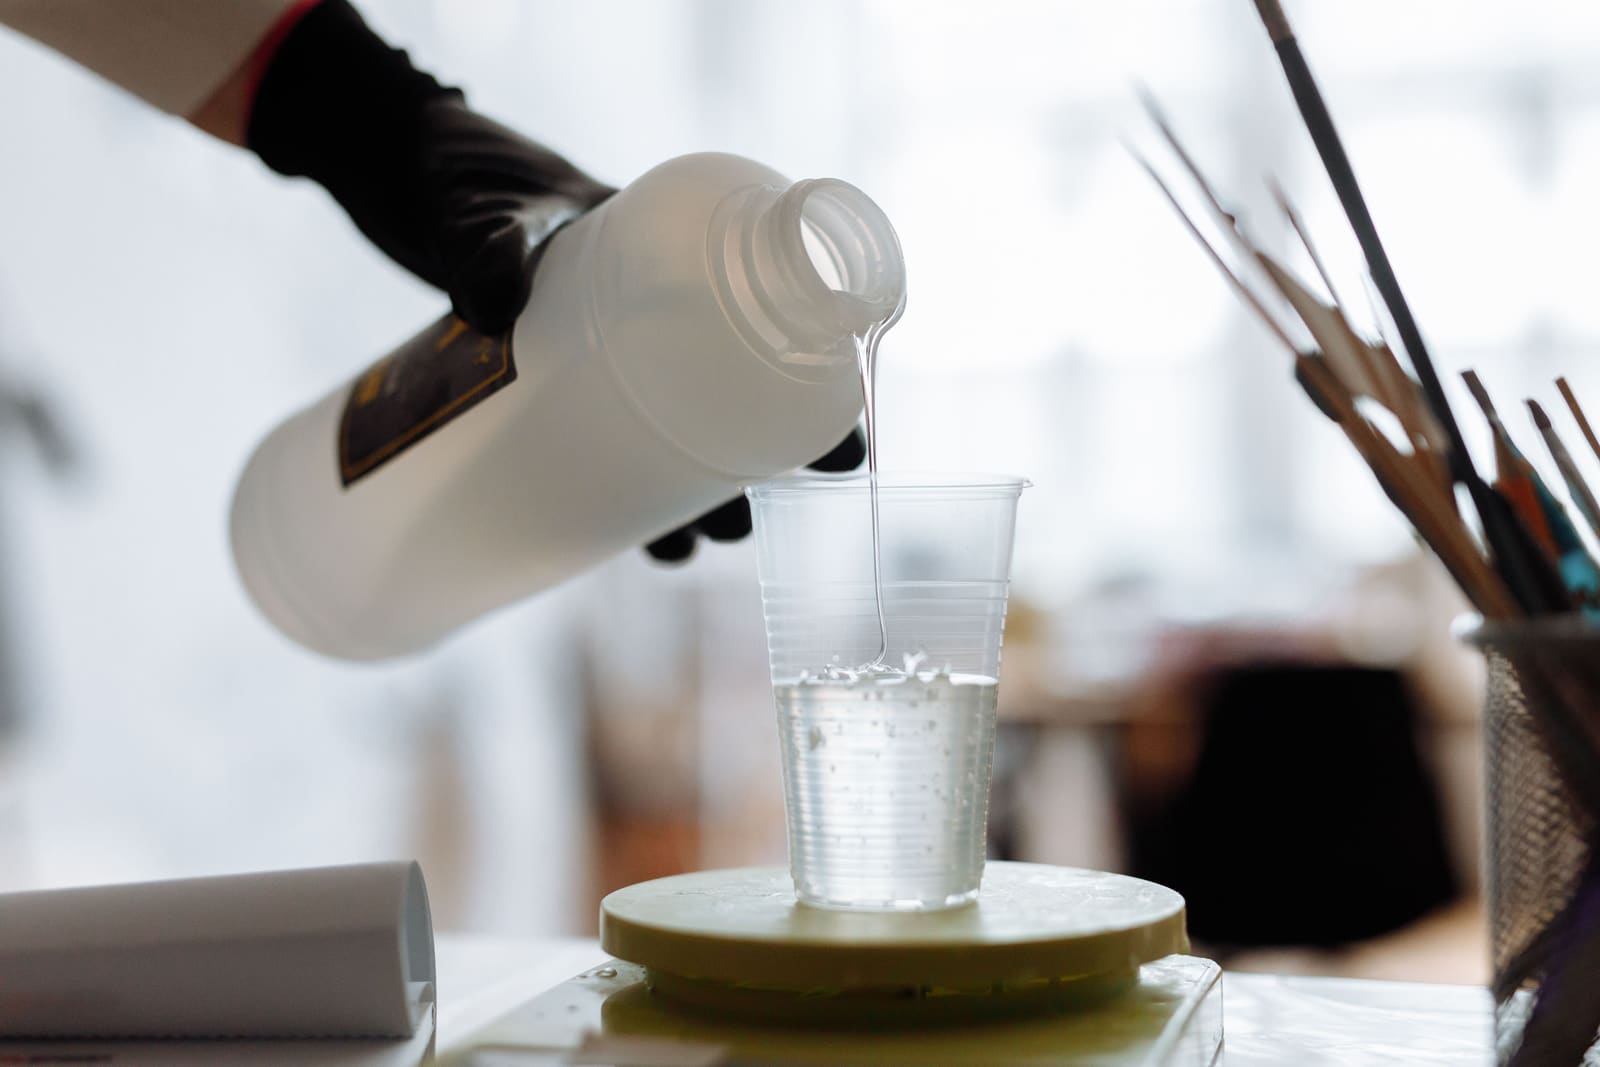
Owners on the AAW forum describe the payoff bluntly: punky wood typically doubles in weight just from soaking in Cactus Juice, and comes out hard enough to turn cleanly without tearout, even if it never gets quite as moisture-resistant as a blank that went through a full vacuum cycle. Stabilizing doesn’t disguise the decay. It arrests it and gives the fiber back the strength it lost, so the figure that made the blank worth saving in the first place survives being cut.
For background on where spalted and punky material actually comes from, the wood for turning guide covers blank sourcing and the fingernail test for how far spalting has progressed before you commit a blank to the lathe.
The process, step by step
Stabilizing a blank runs three stages: dry it, vacuum-impregnate it, and cure it. None of them are fast.
Drying. The blank has to reach under 5 percent moisture content, ideally close to zero, or the resin won’t cure right and the wood may still move afterward. The standard method is a toaster oven at 220°F for at least 24 hours, then straight into a sealed zip-top bag while it’s still hot, so it can’t reabsorb moisture from the air as it cools. Green wood skips the oven at first. It needs months of air drying before it ever sees heat, or it cracks.
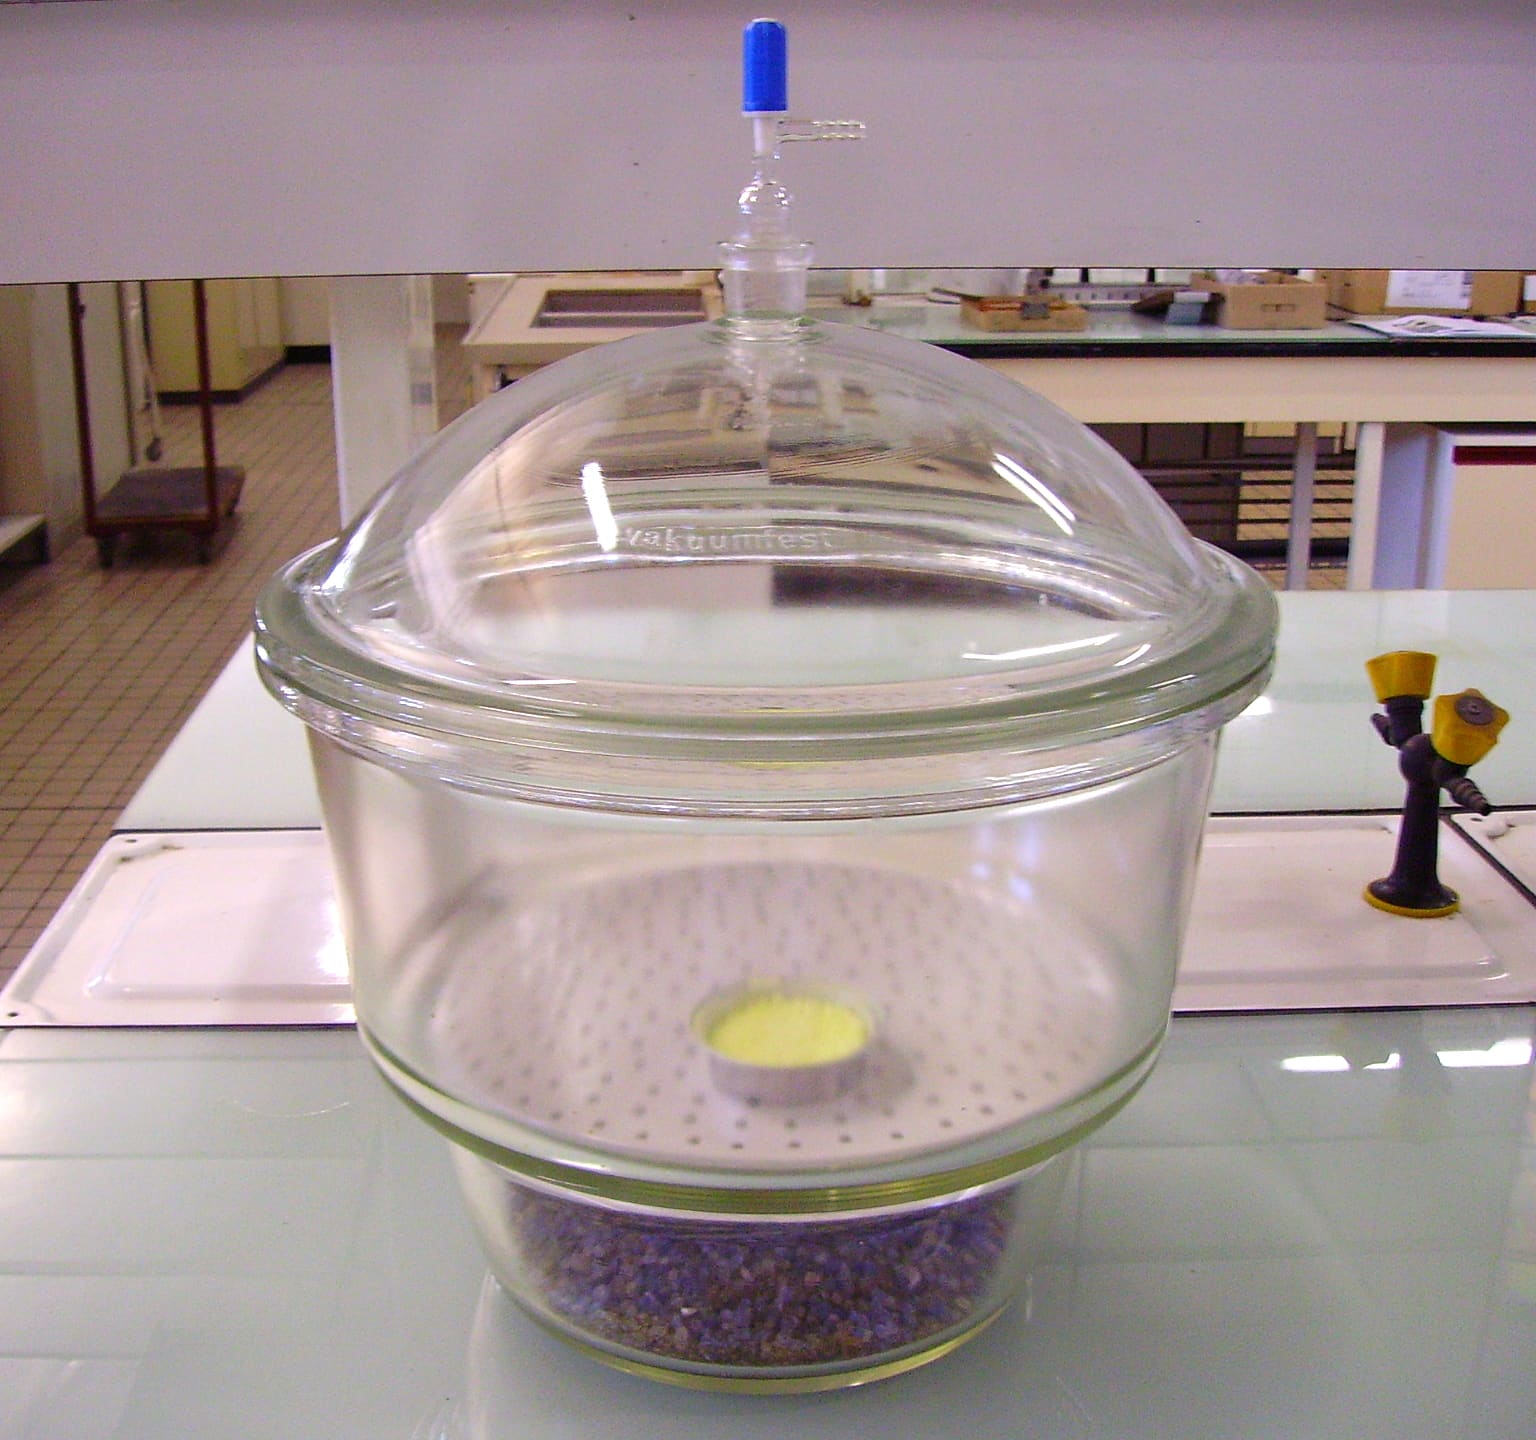
Vacuum degassing. The dried blank goes into a vacuum chamber, submerged under an inch or two of resin and weighted down so it doesn’t float. Pulling vacuum draws the air out of the wood as a stream of fine bubbles. You hold the vacuum until the bubbling stops, which typically runs 4 to 24-plus hours depending on the wood and can stretch past a day for wet or dense material. Releasing the vacuum lets atmospheric pressure drive the resin in, and this is the step people underestimate: most of the actual resin uptake happens after the vacuum releases, during a soak that should run at least twice as long as the vacuum stage. Some species reward a soak of up to a week.
Curing. Drained blanks go into the oven again, usually wrapped individually in foil so they don’t fuse together, at 190 to 200°F until the resin inside reaches that same temperature and holds it for about 10 minutes. A pen blank cures in an hour to 90 minutes. A thicker bowl blank takes longer. Pulling a blank early doesn’t work, and putting it back in the oven afterward won’t finish an incomplete cure once it’s cooled.
| Stage | Typical time | What’s happening |
|---|---|---|
| Oven drying | 24+ hours at 220°F | Blank must reach under 5% moisture before resin goes on |
| Vacuum degassing | 4 to 24+ hours | Hold vacuum until bubbling from the wood stops |
| Post-vacuum soak | 2x the vacuum time, minimum | Most resin uptake happens here, after the vacuum releases |
| Curing | 1 to 1.5+ hours at 190-200°F | Internal resin temperature must hold 190-200°F for 10 minutes |
Do you need a vacuum chamber to stabilize wood?
For full structural stabilizing, yes. The vacuum step is what forces resin into the wood’s internal cell structure rather than leaving it sitting on the surface. Skip it and you’re finishing punky wood, not stabilizing it, and that distinction matters once you’re cutting the blank. A quick, no-equipment fix exists for a small soft spot: turners flood the area with thin cyanoacrylate glue, let it kick, and turn away the excess in light passes, or brush on a wood hardener and let it soak in overnight. Those tricks harden a patch. They don’t do what a vacuum cycle does to an entire blank, and they won’t save a piece that’s gone punky all the way through.
If you’re building the actual chamber-and-pump setup, the vacuum chamber stabilizing guide covers pump specs, chamber sizing, and what a full rig costs to put together.
Which woods actually need stabilizing?
Not every blank benefits, and running dense wood through the process wastes resin and oven time for no real gain.
| Wood category | Examples | Stabilize it? |
|---|---|---|
| Dense, oily hardwood | Ebony, cocobolo, rosewood, African blackwood | No. Already sinks in water; oils can contaminate the resin and stop it curing |
| Medium-density hardwood | Hard maple, koa, walnut, bog oak | Optional. Gains roughly 60-80% in weight and extra hardness, worth it for knife handles and small turned pieces |
| Soft, porous, or decayed wood | Spalted maple, spalted oak, punky salvage, most burl | Yes. Won’t hold a clean cut or fine detail otherwise |
The rule of thumb turners use: if a dry offcut sinks in a bucket of water, it’s already too dense for stabilizing to do much. Oily tropical species like cocobolo and rosewood are worth avoiding entirely. TurnTex’s own instructions warn that the oils those woods carry can leach into the resin and keep it from curing properly, which risks the whole batch, not just that one blank. Medium-density domestic hardwoods sit in a genuine gray area. Hard maple, koa, and walnut all take stabilizing well and come out noticeably harder, which is why knife makers stabilize handle wood that would turn or carve just fine unstabilized. Whether that trade is worth it for a bowl or a pen depends on what you’re making and whether the extra durability matters more than the extra step.
When dense hardwood needs none of it
Most bowl turners never stabilize a single blank in their career, and that isn’t a gap in their skills. A well-dried piece of cherry, maple, or walnut heartwood already has the density and grain integrity to hold a clean cut, sand well, and survive decades of use. Stabilizing solves a specific problem: wood that’s structurally too weak to work, usually because decay or extreme porosity got there first. If your blank isn’t punky, isn’t riddled with voids, and doesn’t dent under a fingernail, running it through a vacuum cycle adds cost, time, and weight for a durability gain you won’t notice.
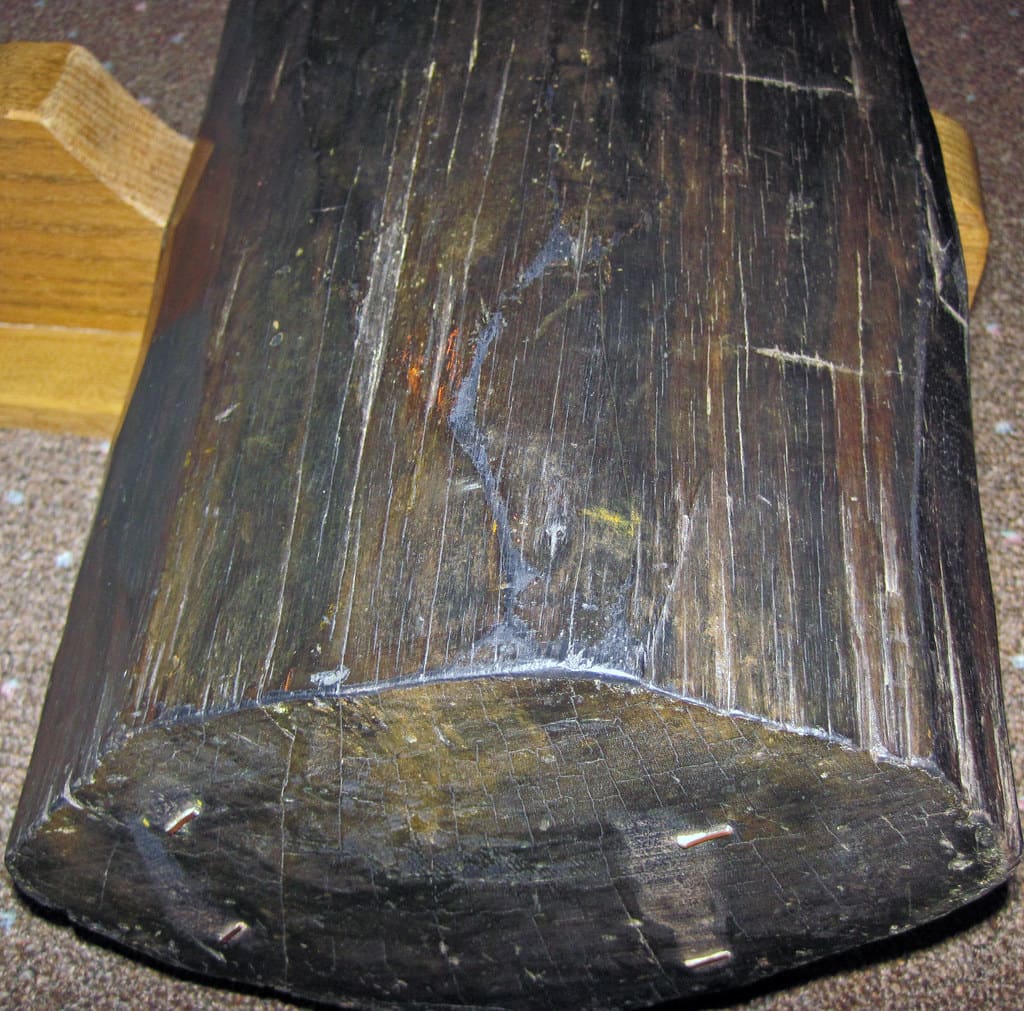
Where stabilizing earns its keep is the crossover ground between woodturning and other crafts: pen blanks, knife scales, bottle stoppers, small boxes, anything small enough to fit a chamber and valuable enough per cubic inch to justify the resin and oven time. If you’re turning pens, the pen turning starter guide covers the kit end of that hobby, and pre-stabilized blanks are usually the easier starting point before you invest in your own vacuum setup. Buying pre-stabilized resin blanks walks through what to look for if you’d rather skip the equipment and buy finished material instead. And if what you’re really after is a sellable small-batch product, the lathe projects that sell guide covers where pens, stoppers, and stabilized-wood accessories fit into that market.
What a wood stabilizing kit actually costs
A stabilizing “kit” in the loosest sense is just resin and a container. A quart of Cactus Juice runs well under $50 and stabilizes a modest stack of pen-blank-sized pieces. What actually gates most turners from trying it is the equipment: a vacuum chamber rated for the pressures involved, a vacuum pump capable of pulling at least 29 inches of mercury, and an oven you’re willing to dedicate to curing resin instead of food, since cured Cactus Juice residue isn’t something you want baked into a family oven. Add those up and the entry cost looks less like a $50 bottle of resin and more like a real shop investment, which is exactly why so many turners buy pre-stabilized blanks for years before building a chamber of their own.
That’s the honest split. If you’re turning the occasional spalted bowl or a handful of pen blanks a year, buying stabilized material or reaching for thin CA glue on a soft spot covers most of what you need. If stabilizing becomes a regular part of your work, the chamber and pump pay for themselves fast enough to be worth building.