Pen Turning for Beginners: Mandrel, Blanks, and First Pens
How to start pen turning: the equipment list, how the mandrel and bushing system works, wood for blanks, and what beginner pen kits actually include.
As an Amazon Associate, Lathesong earns from qualifying purchases, at no extra cost to you.
Pen turning is the most accessible entry point to woodturning: a lathe, a mandrel, a drill, and a weekend afternoon get you to a finished pen. The blanks are small, the stock is cheap, and the result is something people actually use. Most beginners who try pen turning before bowls say it’s the right place to start: the scale is manageable, the feedback is fast, and the gift potential is high.
As an Amazon Associate, Lathesong earns from qualifying purchases, at no extra cost to you.
Here’s what the setup actually requires and what the beginner mistakes look like.
What you need to turn pens
A lathe. Any lathe with enough space between centers for a pen mandrel works. Pen mandrels run roughly 7 to 8 inches long. A mini lathe in the 10-inch class (WEN, Nova Comet II, Rikon 70-100 series) handles this easily. A midi lathe like the Jet JWL-1221VS or Rikon 70-220VSR is more than enough, and the extra capacity is just waiting for you when you want to try bowls later. You don’t need a full-size floor lathe for pen turning.
A Morse taper drill chuck. Pen blanks need to be drilled through center before they’re mounted. You seat a drill chuck in the tailstock’s Morse taper socket, center the blank, and drill. This is the same chuck you’d use for any drilling operation on the lathe. Most lathes don’t include a drill chuck; it’s a standard accessory that runs $20 to $40.
A pen mandrel set. The mandrel is the rod the blank mounts on. It has a Morse taper on the headstock end (usually #2) and a threaded shaft for the barrel nut on the other. The mandrel set includes a selection of bushings (small brass cylinders in the specific diameters for different pen styles). The bushing sits on either side of the blank and tells you the target diameter to turn to.
Confirm the Morse taper size matches your headstock and that the included bushings cover the pen style you're starting with. Snug the barrel nut, never crank it down.
Turning tools. For pen turning, you don’t need heavy bowl gouges. A 3/8-inch spindle gouge and a small skew chisel cover most pen barrel work. Many pen turners use carbide scraper tools exclusively because the small diameter and short cuts suit a scraping approach well. Start with what you have.
Sandpaper and finish. Pens are finished on the lathe. A progression from 120 through 400 grit, then friction polish or CA glue finish applied with the lathe running. CA glue (cyanoacrylate, the same as super glue) builds a hard, glass-like shell finish on pen blanks and is the most common pen turning finish. It hardens fast, sands well, and takes a buffed shine that looks like lacquer.
The fastest finish for wood pen barrels: applied and buffed to a shine in minutes on the lathe. For a harder, more durable shell, most turners reach for CA glue instead.
The mandrel system explained
This is the step most beginners overcomplicate, and one mistake in particular costs time and material.
The pen blank starts as a square or rectangular piece of wood or acrylic. You drill it end-to-end, usually with a 7mm or 10mm brad-point bit depending on the pen style. The brass tube that carries the pen’s internal mechanism gets glued into this hole, usually with thick CA glue or epoxy. The excess blank protruding beyond the tube is trimmed flush using a barrel trimmer.
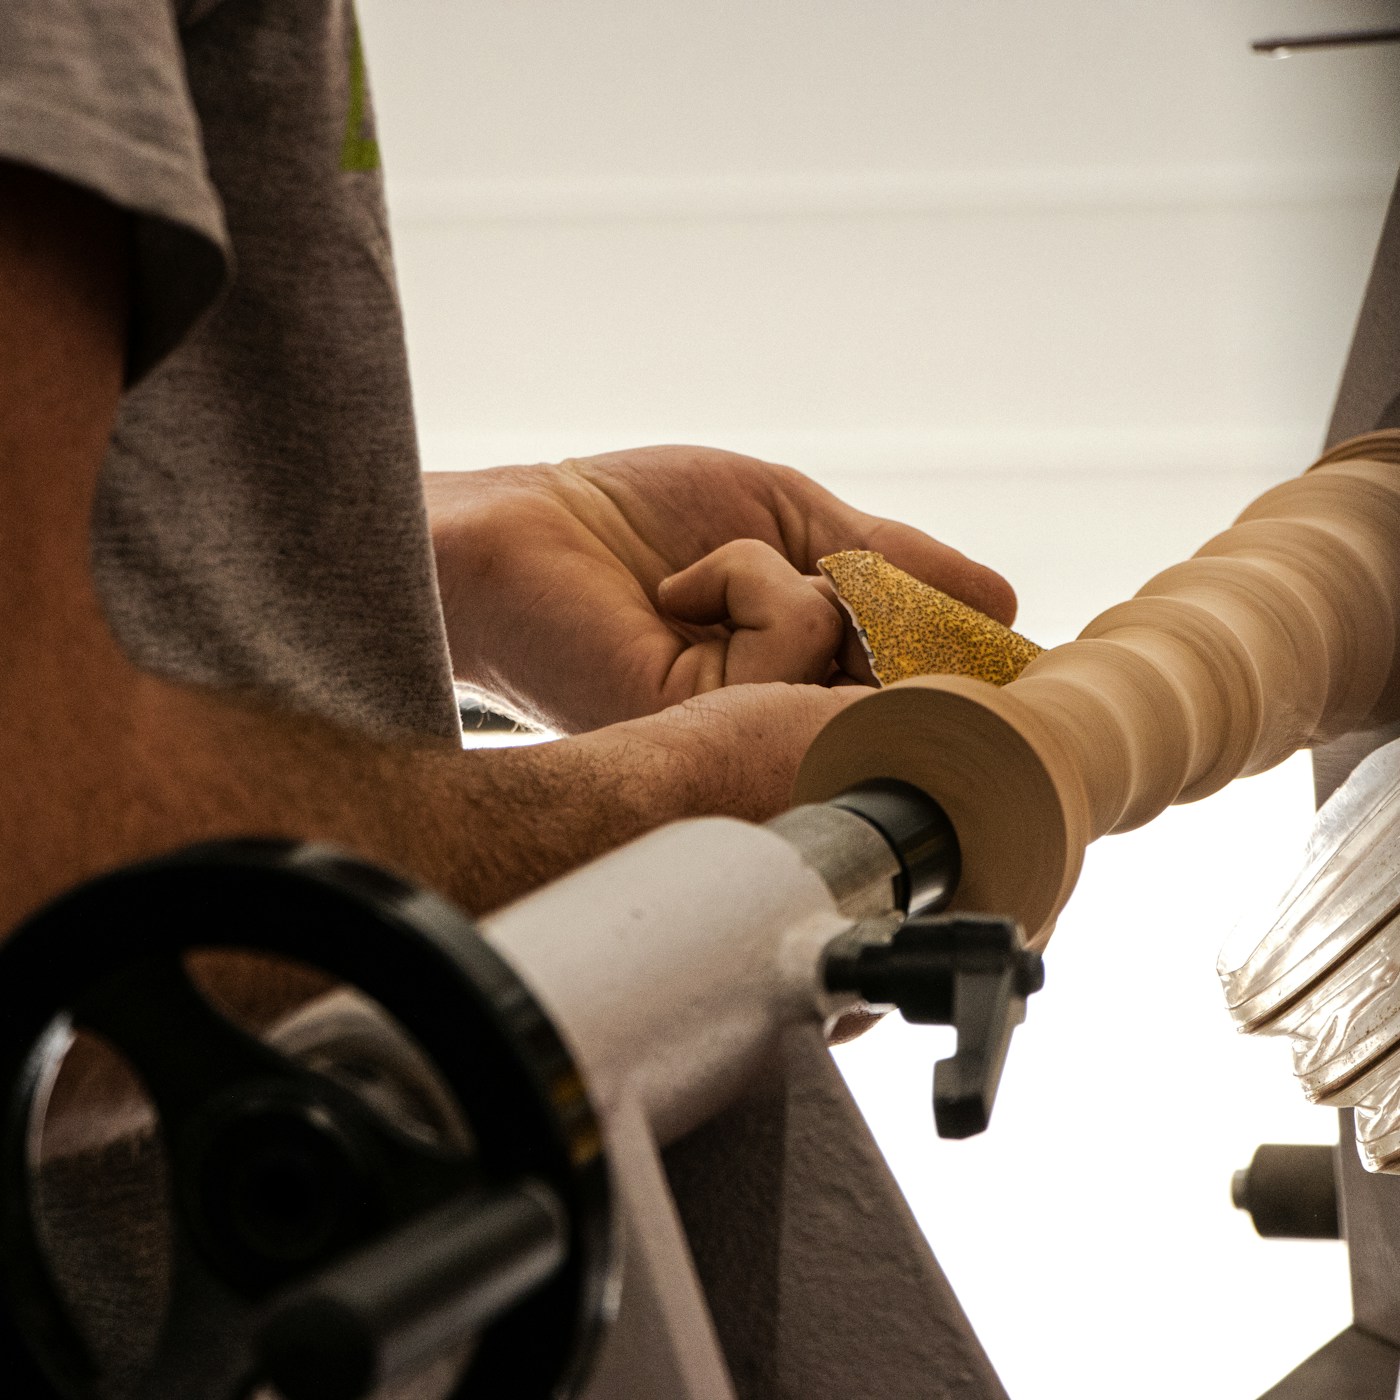
Now you have a drilled, tube-fitted blank. You slide it onto the mandrel between the two bushings that match your pen hardware. The barrel nut threads onto the end of the mandrel shaft and tensions the whole assembly against the tailstock.
The overtightening mistake. The barrel nut should be snug, not cranked down. If you overtighten it, the mandrel flexes slightly under the load. A flexed mandrel introduces runout: the blank spins with a slight wobble instead of perfectly true. When you turn to the bushing diameter, the wobble puts one end of the barrel off-center. The result is a pen where the barrel and the hardware don’t align cleanly, and where the barrel diameter isn’t exactly even. Snug-not-tight. The mandrel shaft is thinner than it looks, and it’s not designed for heavy clamping pressure.
Wood and blank selection
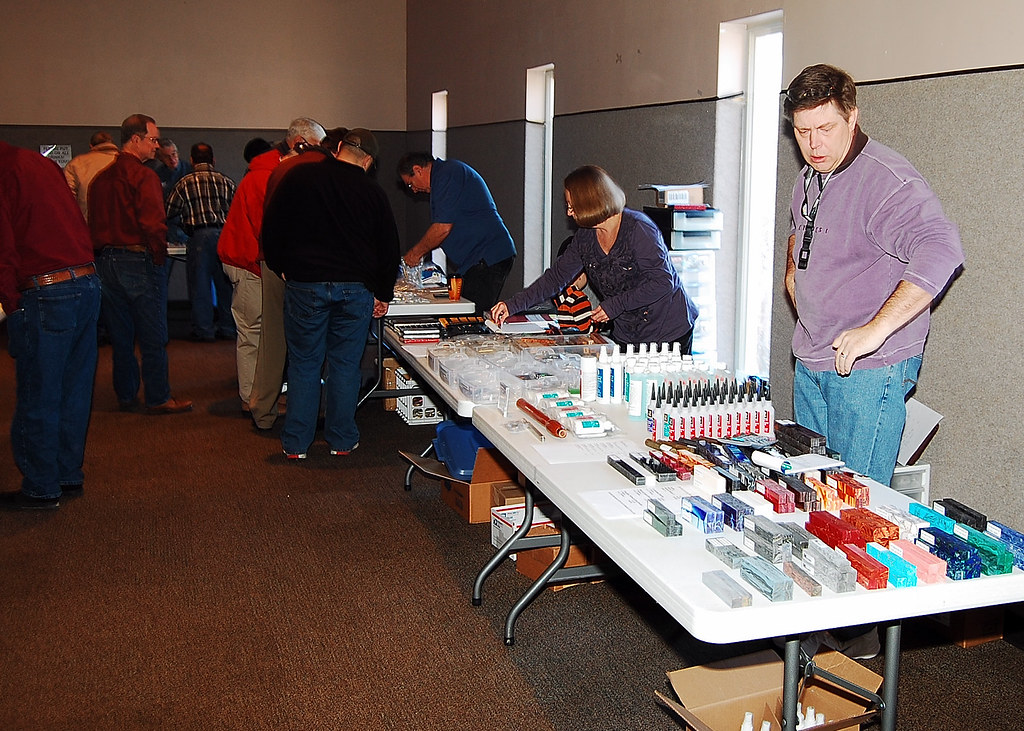
Pre-made blanks vs cut your own. Pre-made pen blanks are sold at Woodcraft, Penn State Industries, and online. They come sanded to dimension, often sold in matched pairs or sets. They’re the right starting point: the wood is dry, stable, and sized for the standard mandrel without milling. Cut-your-own is the next step after you know which wood species you prefer and which pen styles you’re making.
Species that work well. Dense, stable hardwoods: walnut, maple, cherry, purple heart, cocobolo, olive, padauk. All turn well, take CA finish cleanly, and hold detail at the small diameters pen turning requires. Softer species (pine, basswood) can work but fuzz up during turning and need finer grit preparation before finishing. Avoid species prone to checking, small surface cracks, under the heat of drilling; if a blank splits while you’re drilling it, that’s usually why.
Exotics. Once you’re comfortable with wood, try acrylic blanks, Corian, antler, carbon fiber, or resin-cast blanks with inclusions. These all mount and turn the same way as wood but produce results that wood can’t. Acrylic turns dry (no moisture concerns) but generates static-charged dust and needs the lathe speed dialed down. Antler is brittle and smells unpleasant; use dust collection.
Pen kits: what they include and what they don’t
Pen kits from Penn State Industries, Woodcraft, and similar retailers include the hardware for a specific pen style: the clip, the bands, the nib assembly, and the refill mechanism. Most starter packs include hardware for 2 to 5 pens and the matching bushing sizes for those pen styles, and some throw in drill bits sized to the hardware or a barrel trimmer for squaring the drilled blank. They don’t include a lathe, drill press, turning tools, or sandpaper.
Buying the kit confirms you have the right bushings and drill bit size for the pen style before you cut a single blank. Start with one style (Slimline or Sierra) and master it before branching out.
The value of a kit over buying components separately is the matched bushings. Every pen style has a specific set of bushing diameters. If you buy the kit, you know you have the right bushings. If you buy hardware piecemeal, you need to cross-reference the bushing size requirements for each style you want to make.
Start with one pen style. The classic Sierra or the Slimline are the two styles almost every beginner starts with: both are widely stocked, simple in hardware assembly, and forgiving to turn. Master the process on one style before buying six different kit types. The difference between pen styles is mostly the hardware profile and bushing sizes; the turning process is the same.
Expect the first pen to take 1.5 to 2 hours start to finish, mandrel setup and bushing fit included. By the fifth or sixth pen, that drops to 30 to 45 minutes as the sequence becomes routine.
Drill bits. Match the bit size to the hardware. The pen kit documentation (or the retailer’s description) specifies the correct drill bit diameter. A 7mm bit for Slimlines, typically; 10mm for larger barrels. Buy a brad-point bit, not a twist bit. Brad points center accurately and cut a clean hole wall, which matters when the brass tube needs to fit without gaps.
What you don’t need right away
A drill press helps but isn’t strictly required. You can drill blanks with a drill chuck in the lathe tailstock, turning the blank by hand against a stationary bit. It’s slower and less convenient than a bench drill press but works fine for occasional pen turning.
A barrel trimmer is useful but not day-one essential. You can clean up the blank ends with a chisel or a flat file. Buy the trimmer after your first pen. You’ll immediately understand what it saves you.
Advanced bushings, custom mandrel sizes, or pen kits with complex multi-piece hardware (fountain pen nibs, twist mechanisms, piston fills) are all excellent later. Start with the click or cap-and-post mechanism styles where the assembly is self-explanatory.
For the lathe recommendation, the Jet JWL-1221VS review covers the most common midi lathe for hobby pen turners. The first turning tools guide covers what tools you actually need before the first session.