Vacuum Chamber for Wood Stabilizing: Pump, Chamber, Setup
The vacuum pump, chamber, gauge, and hose a home wood-stabilizing setup needs, real picks at three budgets, the degassing process, and pump safety.
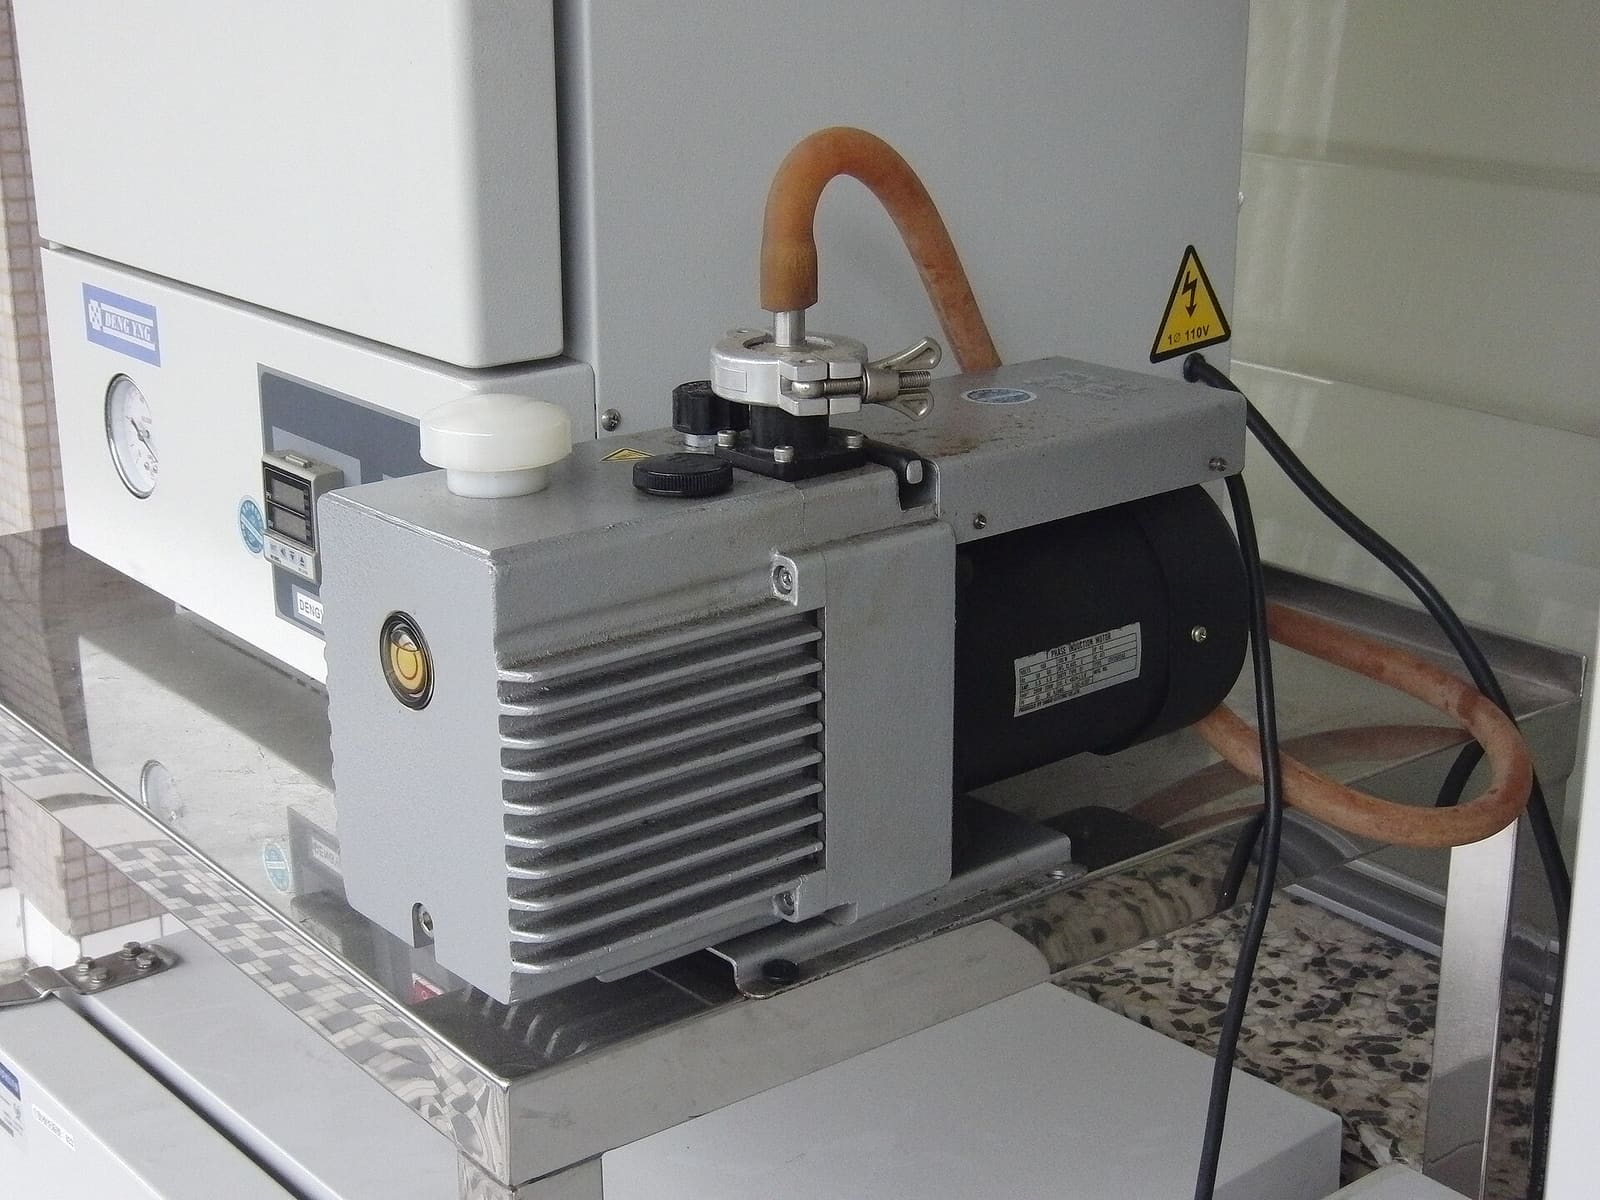
A home stabilizing setup needs three things: a vacuum pump that pulls close to 29 inches of mercury, a chamber rated for that vacuum with a gauge and a release valve, and vacuum-rated hose connecting them. Pump size matters far less than most beginners assume. A budget single-stage pump degasses a batch of pen blanks about as completely as one three times its price, because the fittings are the real bottleneck, not the motor.
As an Amazon Associate, Lathesong earns from qualifying purchases, at no extra cost to you.
That’s the short version. The rest of this is what to actually buy, what the process looks like once the pump is running, and where people wreck a pump they didn’t need to.
What the setup is made of
Four parts, in order of what fails first if you skimp on it:
The pump. An oil-sealed rotary vane pump, the same category used for HVAC and automotive AC service. It needs to pull a deep vacuum, not move a lot of air.
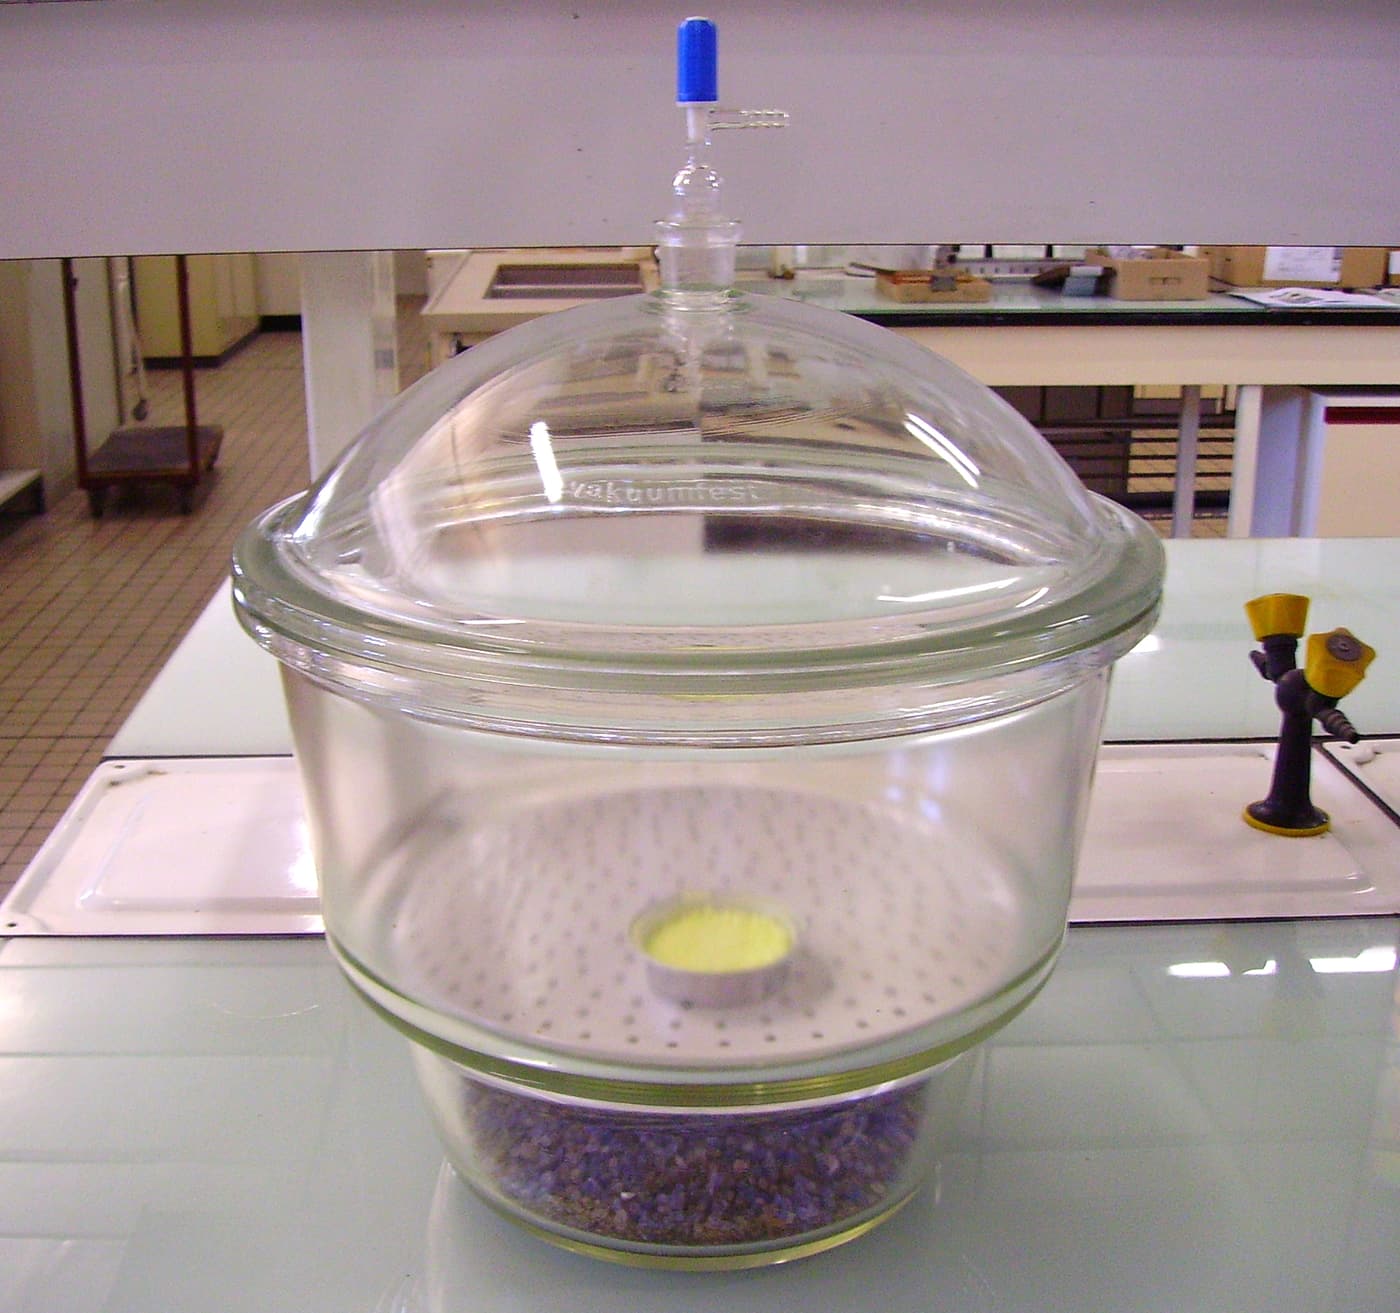
The chamber. A vessel rated to hold vacuum without collapsing, with a lid that seals. Turning-specific chambers are usually clear cast acrylic tube with a CNC-machined lid. Generic degassing chambers sold for epoxy and silicone work are usually stainless steel with a tempered glass or acrylic lid.
The gauge and valve. A vacuum gauge reads how deep you’ve pulled, in inches of mercury (inHg) or microns. A ball valve or bleed valve lets you release the vacuum slowly and controllably instead of yanking the hose off, which lets air rush back in fast enough to splash resin.
Hose and fittings. Reinforced vacuum-rated hose (not soft aquarium tubing, which collapses under vacuum) connects the pump to the chamber, usually through quick-disconnect fittings so you can move the pump between chambers or store it separately.
One more thing worth building or buying into the chamber: wood floats in Cactus Juice and most stabilizing resins. A perforated plate or a weighted rack that holds blanks submerged matters as much as the pump itself. Dedicated turning chambers ship with one; a generic degassing chamber usually doesn’t, so plan to add a piece of expanded metal or a perforated disk and a weight.
What size vacuum pump do you need for wood stabilizing?
Smaller than most people buy. CFM, the number every pump listing puts in bold, is close to irrelevant for stabilizing. Once a chamber is down near full vacuum, holding it there takes almost no airflow, and the standard hose barbs and quick-disconnect fittings on a typical setup choke flow to roughly 1 CFM no matter how big the pump is rated. A 3 CFM pump and an 8 CFM pump reach the same depth of vacuum in roughly the same time on a hobby-sized chamber, because the fittings are the limiting factor, not the pump.
What matters is the ultimate vacuum rating, and here the picture is also more forgiving than it looks. A two-stage pump can, on paper, pull a deeper vacuum than a single-stage pump. In practice, standard chamber hose and fittings can’t hold a vacuum tight enough to take advantage of that extra depth, so most home setups bottom out around 700 to 800 microns regardless of which one you buy. A quality single-stage pump gets you there.
Elevation changes the numbers you’ll see on the gauge. Sea level tops out at 29.92 inHg. A shop in Denver, at over 5,000 feet, maxes out closer to 25 inHg on the same pump, because there’s less atmosphere pushing down to begin with. That’s not a pump problem. It’s physics, and it’s worth knowing before you assume your gauge or your pump is underperforming.
The budget pump turning forums point to most often. Single-stage, 3 CFM, factory-rated to 75 microns, metal internals rather than the plastic vanes found in cheaper imports. Pairs with any generic or dedicated chamber.
Can you use a cheap HVAC vacuum pump?
Mostly, yes, and turners have been doing it for years. Two things separate a pump that lasts from one that doesn’t.
First, metal vanes versus plastic vanes. USA-made pumps from JB Industries, Robinair, and Yellow Jacket use metal internals built for daily AC-service abuse. The cheapest imported pumps sometimes use plastic vanes that are more vulnerable to heat and contamination. That’s the real quality line, not the country of origin by itself; some imported pumps are fine, but the metal-vane USA-made pumps are the safer default if you want one tool to outlast the hobby phase.
Second, and this is the part that surprises people: it’s usually not the resin that kills a shared pump. TurnTex, which has sold stabilizing chambers and pumps for over a decade, states plainly that Cactus Juice doesn’t off-gas meaningfully under normal vacuum at typical shop temperatures below 85°F, so the widely repeated warning about resin vapors requiring a cold trap doesn’t hold up for their resin. What actually damages a pump is wood that wasn’t dried enough before it went in the chamber. Moisture and sap boil off under vacuum, condense inside the pump housing, and gum up the internals over time, the same failure mode a pump would see pulling vacuum on wet lumber for any other reason. Dry your blanks properly before they go in the chamber and a shared HVAC pump has a long service life.
If the pump already spent years in refrigerant service, change the oil before its first stabilizing session and again after the first few uses. Refrigerant residue and stabilizing byproducts don’t mix well in the same charge of oil, and a fresh charge costs a few dollars against a pump that costs hundreds.
The chamber: dedicated versus generic
Two paths here, and both work.
Dedicated turning chambers, the kind TurnTex builds specifically for Cactus Juice, run around $295 for a 6-inch by 18-inch clear acrylic chamber as of this writing, sized to hold roughly three dozen pen blanks or a dozen knife-scale blocks in two layers. They come with a CNC-machined lid, a built-in stainless gauge, a submersion plate so blanks don’t float free of the resin, and a built-in thermometer. The tradeoff is capacity and cost per cubic inch; these chambers are sized and priced for pen and small-object work, not full bowl blanks.
Generic degassing chambers, sold for epoxy art and silicone mold work, cost less for more interior volume. A 3- to 5-gallon stainless chamber with a tempered glass or acrylic lid runs well under half what a comparable dedicated chamber costs, and the physics inside is identical: same vacuum, same seal, same result. What you give up is the wood-specific accessories. You’ll add your own submersion plate and, if the lid isn’t clear, lose the ability to watch bubbling in real time through the top.
The cheapest path to a complete, working setup. A tempered glass or acrylic lid, a built-in gauge, and a single-stage pump rated in the 3 to 3.5 CFM range, which is plenty for the reasons above. Fine for pen and small-object volume; a full bowl blank needs a taller chamber.
For anyone who already owns or is buying a pump separately. Pick a size by what you actually turn: a 3-gallon chamber handles pen and stopper blanks; step up to 5 gallon or larger for knife scales and small bowl-turning blanks.
How long does the degassing process take?
Longer than it looks, and the part most beginners rush is the part that matters most.
Load the chamber, submerge the blanks with the plate or weight, and pull vacuum. Air trapped in the wood’s cell structure expands under the dropping pressure and streams out as a steady column of bubbles from each blank. Keep the vacuum running until the bubbling slows to almost nothing, an occasional bubble rather than a continuous stream. For a batch of pen blanks that’s commonly 30 minutes to an hour or two; dense exotic species and larger blanks take longer, and there’s no universal timer, you watch the chamber, not the clock.
Here’s the part that surprises people: once bubbling stops, you’re not done. Release the vacuum slowly through the bleed valve and let the batch soak in the resin at normal atmospheric pressure for at least twice as long as the vacuum phase ran, longer for better penetration in some species, up to a week for the most resistant woods. The majority of actual resin uptake happens during this atmospheric soak, not during the vacuum pull itself. Atmospheric pressure pushes resin into the space the vacuum phase opened up; releasing the vacuum is what does the pushing. Pulling the blanks out right after the bubbles stop is the single most common reason a home-stabilized blank turns out under-penetrated.
Safety: resin, ventilation, and the pump itself
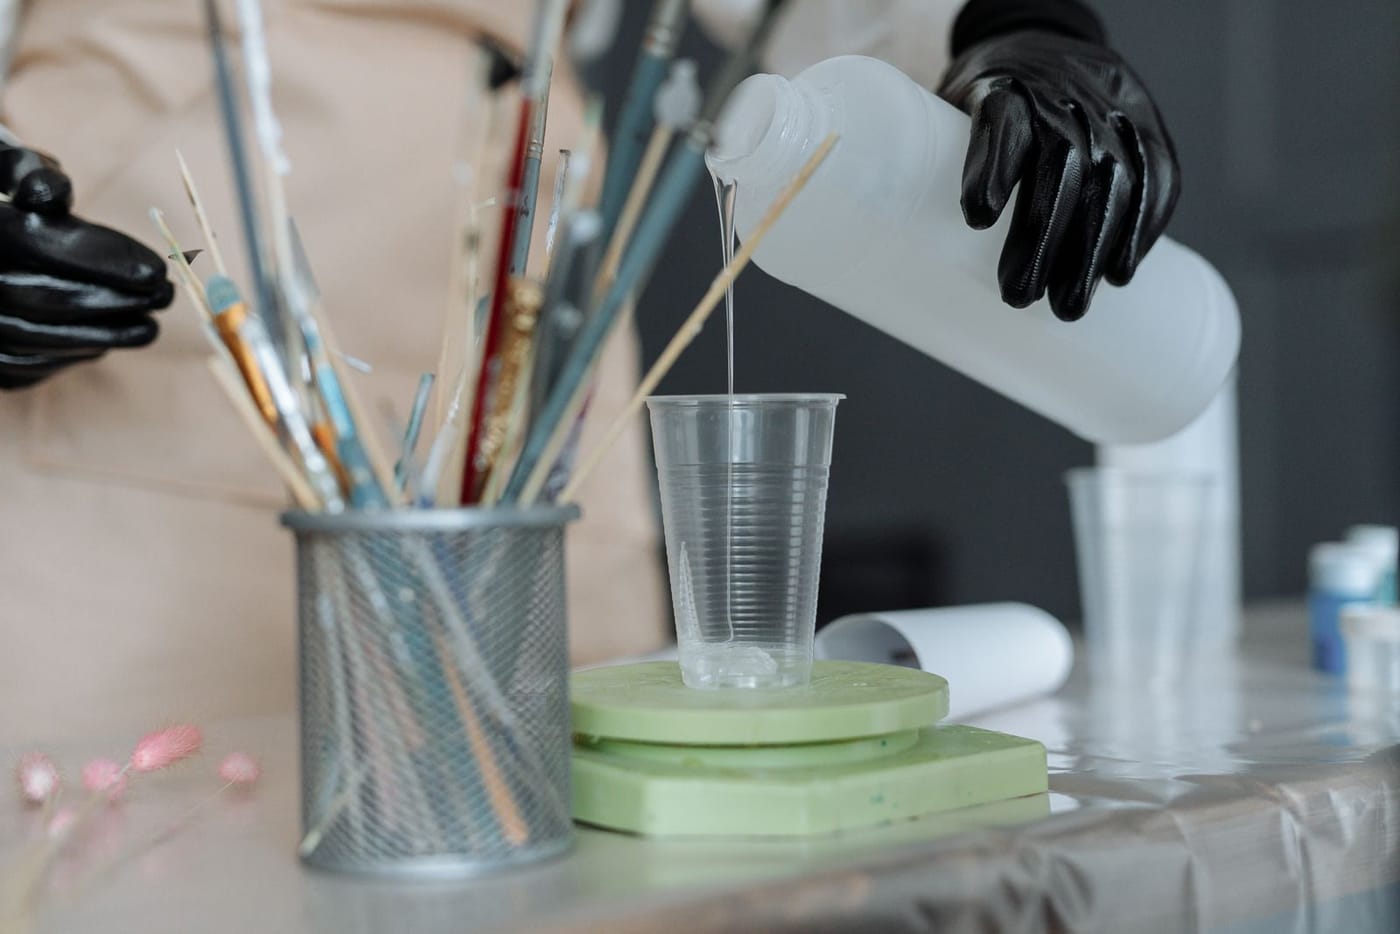
Resin handling. Wear nitrile or rubber gloves whenever you’re mixing, pouring, or pulling blanks out of an open chamber. If resin gets on skin, wash it off with soap and water rather than letting it sit. Store activated resin in its original container, out of direct sunlight, below about 85°F; most stabilizing resins hold up for roughly a year under those conditions and degrade faster in heat or UV.
Ventilation. Run the chamber and pump in a space with normal shop air movement, the same standard you’d apply to any finishing product. The vacuum phase itself isn’t a high-vapor event with a low-vapor-pressure resin like Cactus Juice at room temperature; the bigger ventilation need in the whole stabilizing workflow is at the curing oven, where the blanks get heated to roughly 177 to 205°F to set the resin, and that’s outside the scope of this article. The wood-stabilizing guide covers the full process end to end, cure included.
Pump maintenance. Change the oil on schedule, not just when it looks bad. A pump used a few hours a week for stabilizing can often go by feel, cloudy or discolored oil means change it, but a pump used heavily or shared with wet-wood work benefits from changing the oil after every session regardless of appearance, since moisture and sap contamination isn’t always visible before it’s already done damage. Keep spare oil on hand. It’s the cheapest insurance a stabilizing setup has.
The chamber itself. Inspect acrylic or glass lids for stress cracks before every use; a chamber that’s been dropped or over-tightened can fail under vacuum, and a sudden implosion at 29 inHg is not a gentle event. Stainless and cast acrylic both hold up well for years of normal use. Neither is worth trusting once it’s visibly cracked or crazed.
The pump most serious turners eventually land on. American-made, all-metal construction with a 25-micron rating, and serviceable rather than disposable when a seal wears out. Costs roughly two and a half times the budget option and tends to outlast it by a wide margin.
What it costs by tier
| Tier | Setup | Approximate cost |
|---|---|---|
| Budget, all-in-one | Combo kit: stainless chamber, glass or acrylic lid, single-stage 3 to 3.5 CFM pump | Roughly $130 to $180 |
| Mid, build your own | Quality standalone pump (Robinair 15310 class) plus a separate stainless or acrylic chamber | Roughly $110 pump, plus $80 to $150 chamber |
| Serious hobby or small production | USA-made pump (JB Eliminator DV-4E class) plus a dedicated turning chamber sized for your work | Roughly $270 pump, plus $200 to $400 chamber |
The dedicated turning chambers from specialty suppliers like TurnTex cost more per cubic inch than a generic degassing chamber, but they arrive with the submersion plate, gauge, and lid already matched to pen and small-object dimensions, which is worth the premium if that’s most of what you turn. For bowl-sized blanks or mixed work, a larger generic chamber and a quality standalone pump covers more ground per dollar.
Buy the pump first if you’re building piece by piece. A good pump outlives multiple chambers, and it’s the part that’s genuinely hard to shop for twice.
For the resin itself, mixing ratios, and species-by-species results, the resin blanks guide covers what goes in the chamber once the equipment side is sorted. The wood-stabilizing guide walks the entire process from candidate wood to finished, curable blank. Wood that’s punky or spalted, the best candidate for stabilizing in the first place, is covered in the wood for turning guide. And for the fine dust and finishing byproducts that show up once the stabilized blank hits the lathe, the dust collection guide covers the collector and respirator side of the shop.